
I LOVED the idea, and have just gotten around to working on them. I thought I would share how I made them.
Supplies:
-1 foam brush (I use the smaller 1" brush. Make sure it is somewhat new, or the little black foam pieces will come off in your Mod Podge... lesson learned.)
-Mod Podge (I use the matte finish that you can get at Wal-Mart or your local craft store)
-Cardboard frames
-Scissors
-Glue stick
-Letters
-Scrapbook paper
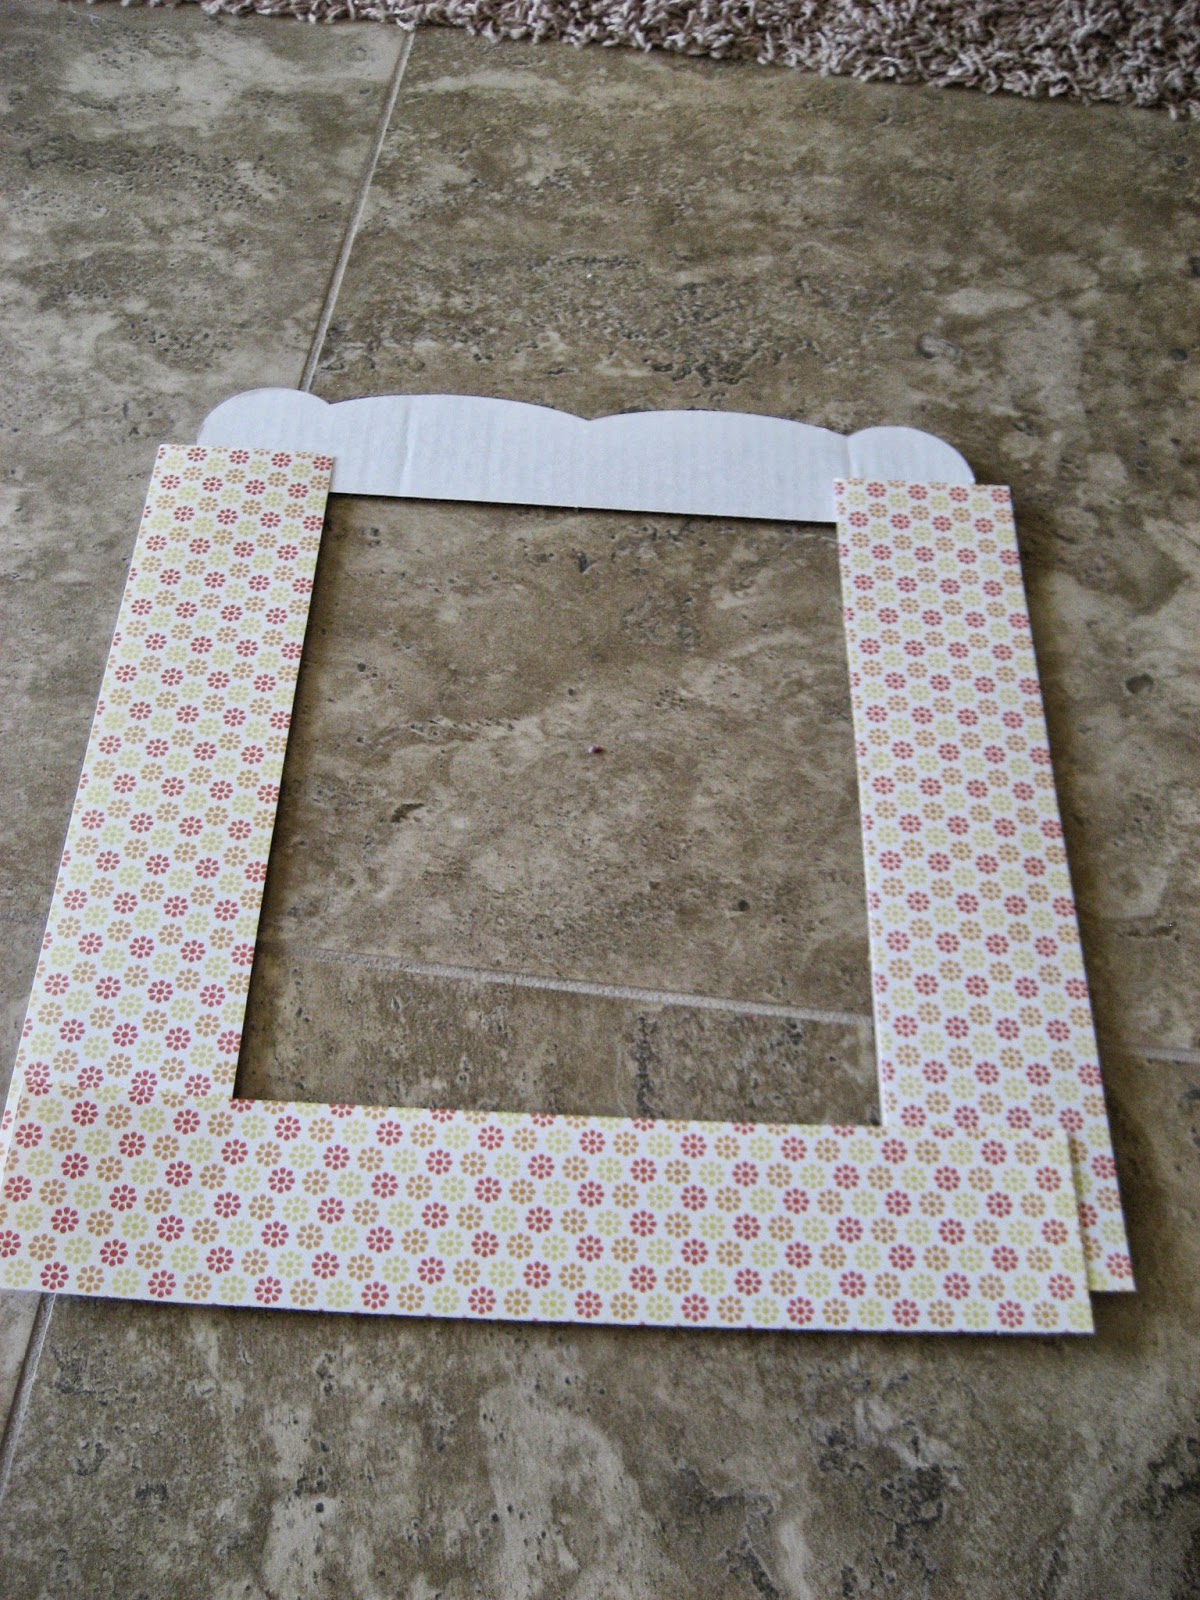

2) Turn the paper over, and trace the sides of the frame on the paper. I line up the side of the paper with the inside, straight side. Start with the vertical sides, then work on the horizontal sides.

3) Cut along your pencil lines. Use a thin layer of Mod Podge to adhere the paper to the frame. Use enough that it sticks well, but not too much, because it will wrinkle your paper. Let it dry completely.

4) You are ready to add your letters! Hooray! I used my Cricut, but you can also print the letters and cut them. I have found that cardstock works well with this project. As I said before, if the paper is thin and wet, it will crinkle. I was a bit worried that the printer ink would run, but I didn't have any issues.

5) Place your letters in just the right spot. Glue them on using a glue stick. You can also use a layer of Mod Podge, but I think it gets a bit wet that way. In my opinion, the glue stick is a better option. Please don't look at my old lady hands and poorly manicured nails.

6) Add a thin layer of Mod Podge over the letters. Again, add enough to make it stick, but not enough to make it really wet. If your letters start to crinkle, smooth them out with your finger. Let it dry completely.

7) Voila! You are done! I made them for our Valentine's party, losing a tooth, our winter party, and the first day of kindergarten. I also made the frame for Dr. Seuss's birthday, but I still need to add the pom pom for the truffula tree.

This one is my favorite. I added some scrapbooking embellishments, and used paper that looked like cork board.

This is my second favorite. I hate loose teeth (when they wiggle a lot, they gave me the "willies"), but I love toothless grins.
Happy crafting!!
No comments:
Post a Comment